Saturday, 5 February 2011

More pix


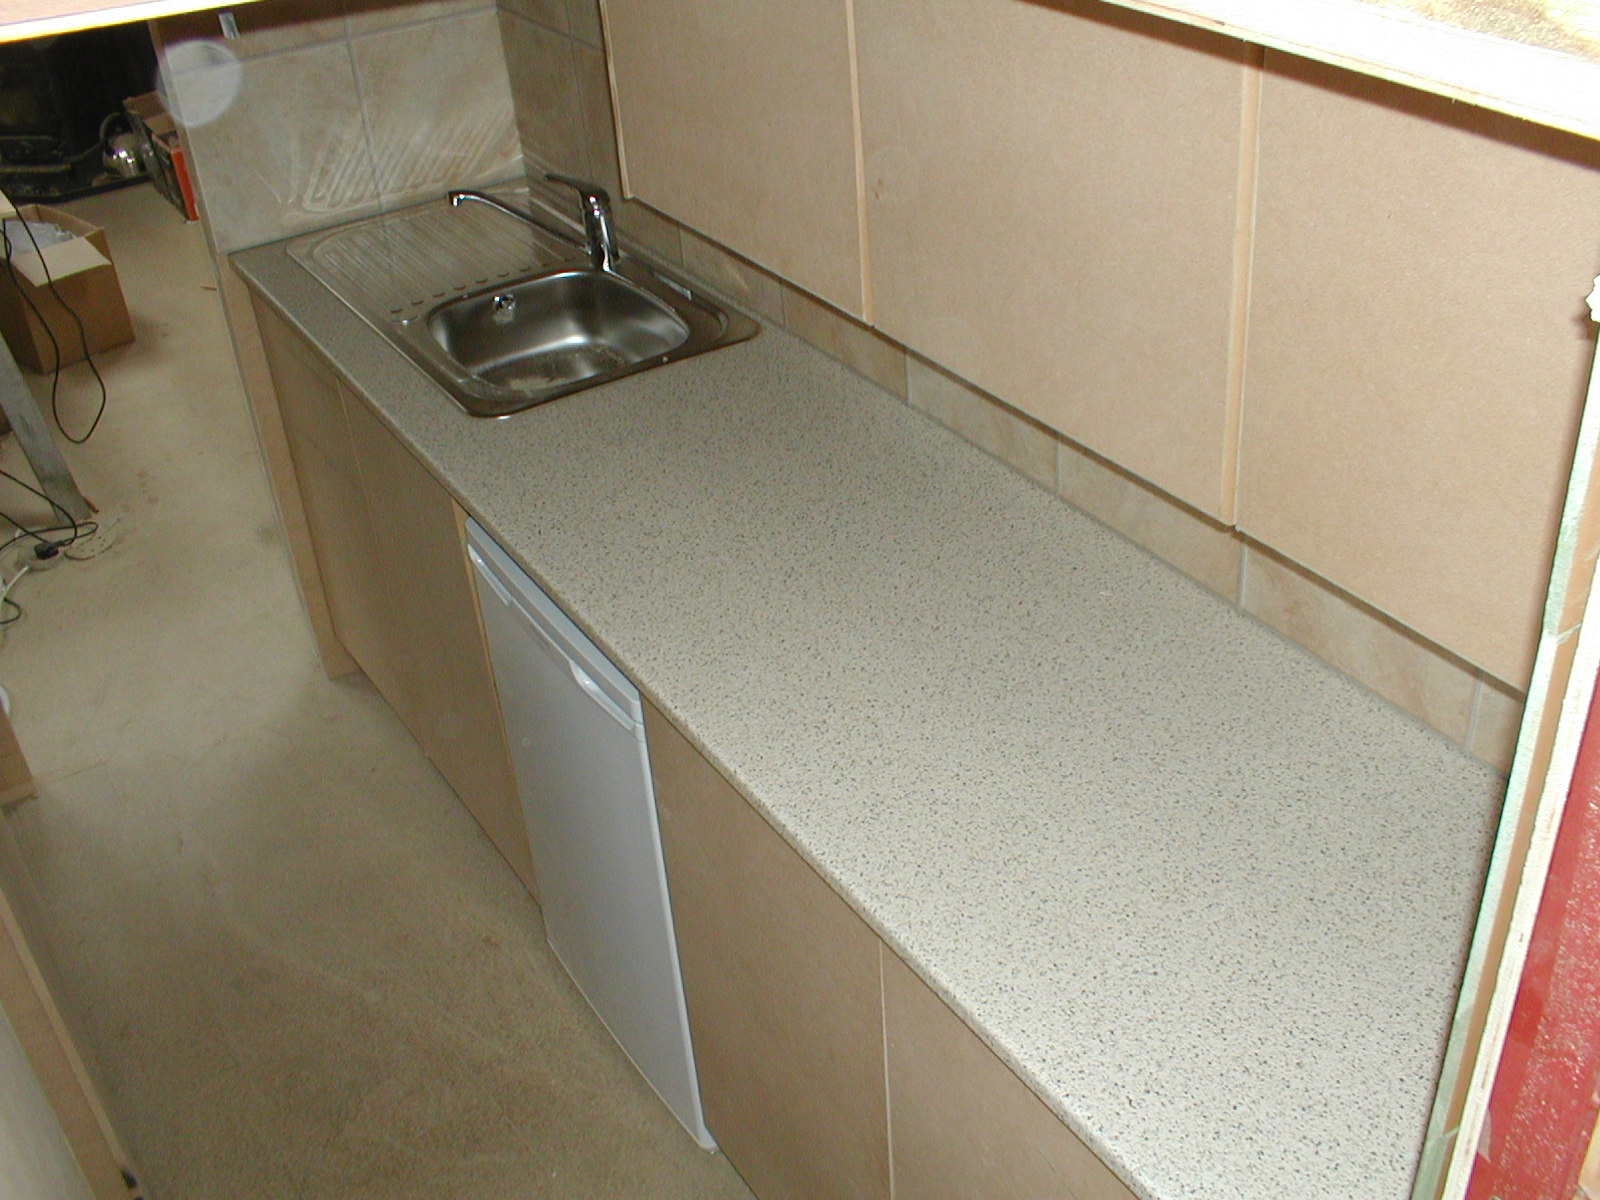
The galley wasnt made for this but I need the space and tools have to live somewhere..
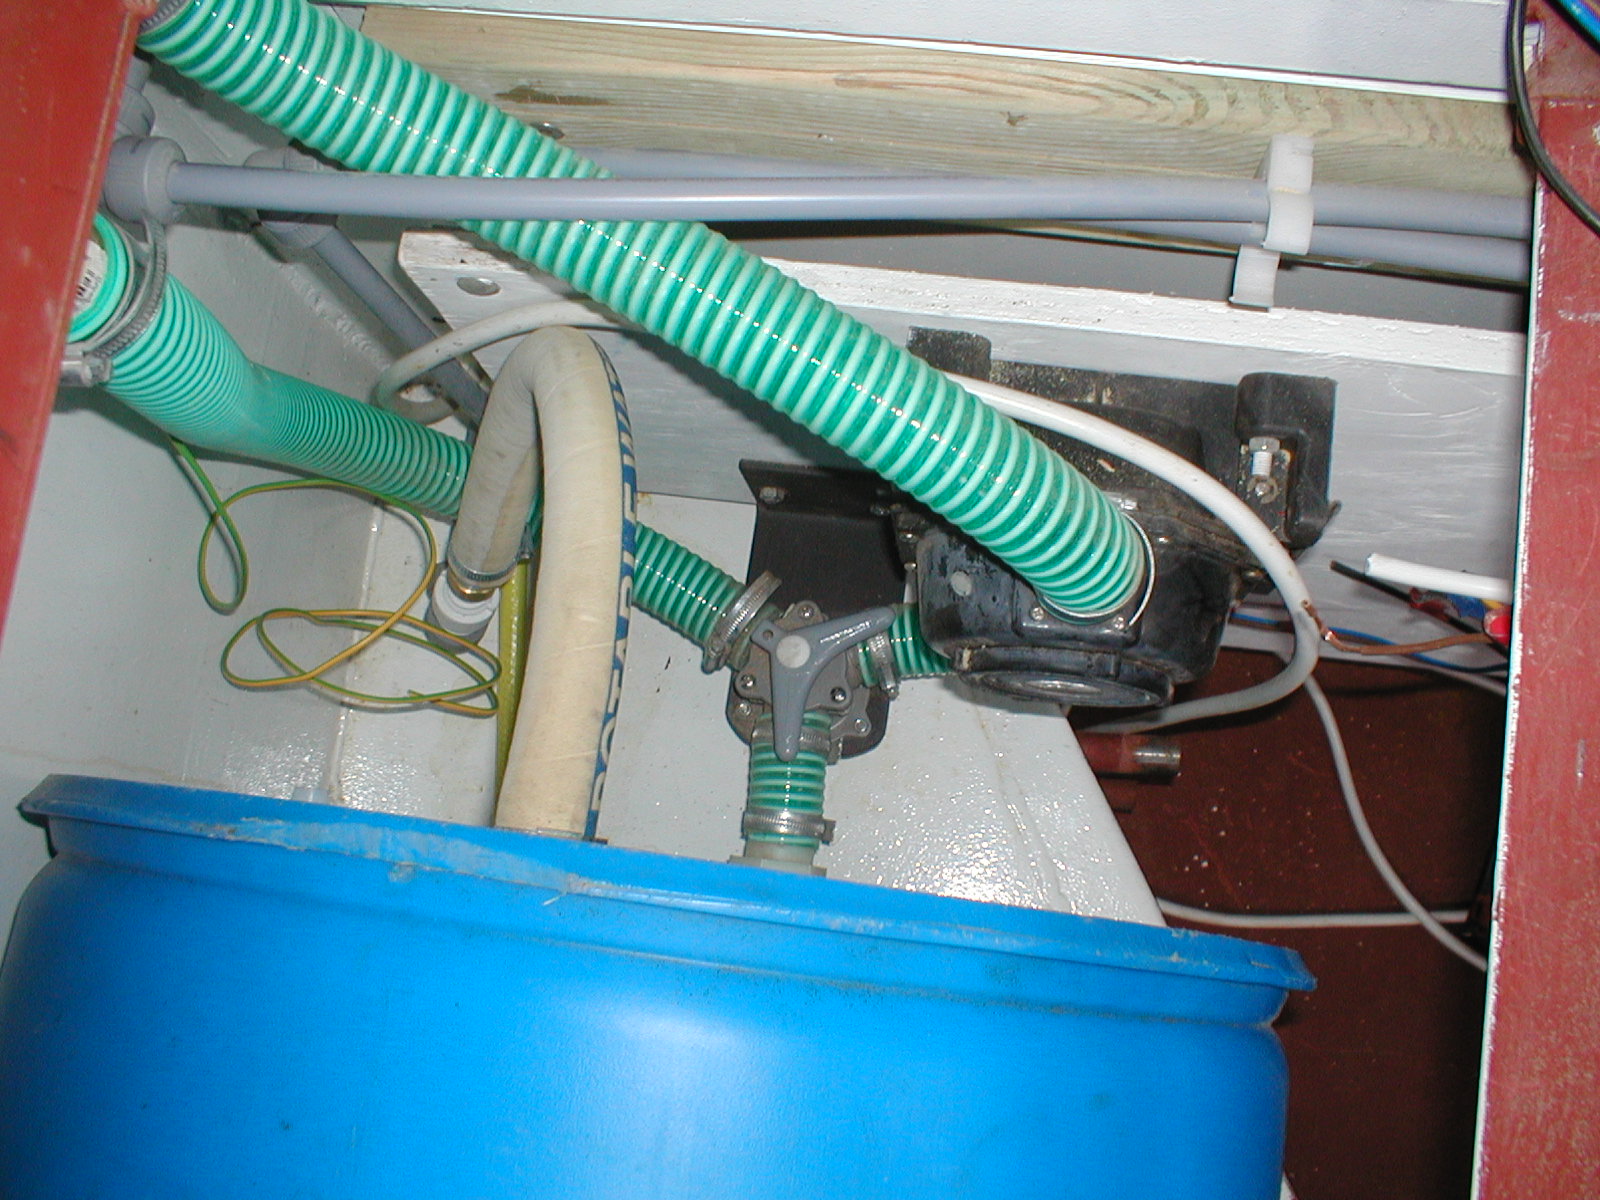
Its almost time to have some basic facilities aboard, so it wont be long before the head is connected up to the 50 gallon holding tank. Its all fitted in very neatly and im flushed with pride !!!
I had to drill and tap the top of the tank to take a half inch nipple for the vent and getting it in through the floor frame was tricky but it just fitted.
The outlet at the bottom feeds into a Y valve which allows me to either self pumpout via the Henderson manual pump or marina suck out

For 5 months, ive been playing hopscotch every time ove walked over the steel framework above the engine compartment. I havent fallen in yet but im not going to chance it any longer so today saw the start of the deck going down. I need to make a few hatches for access but once its done im going to enjoy using this huge space

Friday, 4 February 2011

Im doing my level best, I am. (as we say in Wales)


Im struggling for motivation this week. Maybe this is the psychological equivelent of the wall that althletes hit when the carbs are burned up and they are numb to the pain. They feel 'nothing', and thats hard to beat, its tougher to deal with than the original task and only the winners find the way past it to succeed.

So, my way of dealing with a problem is to side step it and see it from a different perspective. Ive had a misch match of a week, doing nothing much in particular, finishing off some odd jobs like the gas pipe, the bathroom radiator, lifting the fridge and wash machine above finished floor height, and cleaning up.

Occasionally the mess gets so bad I spend too long looking for tools or choking in the dust. Ive done some spring cleaning and moved a lot of junk out.
Ive leak tested the shower tray and calorifier, installed a fan in the bathroom to recirculate warm air and made a home for the AC/DC panel in rediness for connecting wiring circuts. I need to test the wiring so I can move on to finishing the Maple ceiling.

I wanted a panel which is hinged to make connections easier to work on without having to totally remove it. Its over 8 inches deep so I had to build a box around it and to help get the depth, ive cut into the backing board which forms the back of the electrics locker. That way, all the wires will enter from the back and not be on show or in the way.

The panel was a gift from James' 'Arctic Lady', surplus to requirments since her magnificent new fitout. Its overkill for my project but too good to let slip by.

Thanks again James.x

Thursday, 27 January 2011


Im usually rather modest about my abilities but this week ive been rather chuffed, firstly with the tiling and now with the flooring in the galley and bathroom.

Im using the same Maple which I made the ceilings from and its a joy to work with as its so close grained and knot free. I first made the border and then infilled. Each mitre cut is 45 deg and its a testement to my laying out of bulkheads to millimitre accuracy that all the mitres are snug and tight, demonstrating how square everything is.

All it needs now is a good sanding and Im going to seal and protect it with teak and linseed oil.

Wednesday, 26 January 2011

One small step, but -


One big leap forward.

I simply adore the steps, made from salvaged oak boards and given some love and linseed oil, and this is how they look.

Ive also been tiling and 2 square meters later, ive got it covered.

Sunday, 23 January 2011

More galley pix


Just taken a few more pix in the galley. Ive made a few more doors for cupboards and the wall units above the counter.

The chair which has done sterling service over the past 5 months is realy on its last legs so ive turned it out to pasture and replaced it with some gorgeous steps which I made from reclaimed oak boards. The pix dont do them justice but they are realy neat and perform 3 functions. Firstly as steps, secondly they fl=old up to provide access to the shower pump un the bilge below and thirdly, the middle step folds up and the rubbish bin is hidden inside.
The top step finishes at the right level for the wheelhouse Maple floor to continue later on.
Its taken me two days to get this done, I dont know where the time goes but im more than happy with the result.

Wednesday, 19 January 2011

Another door


I didnt finish my door making tasks last time and there was one still left to do but as the bulkheads wernt even made, it had to wait.

Anyway, yesterday was the day, I was in the mood and these tricky jobs cant keep waiting forever, so I jumped right in and finished it off.

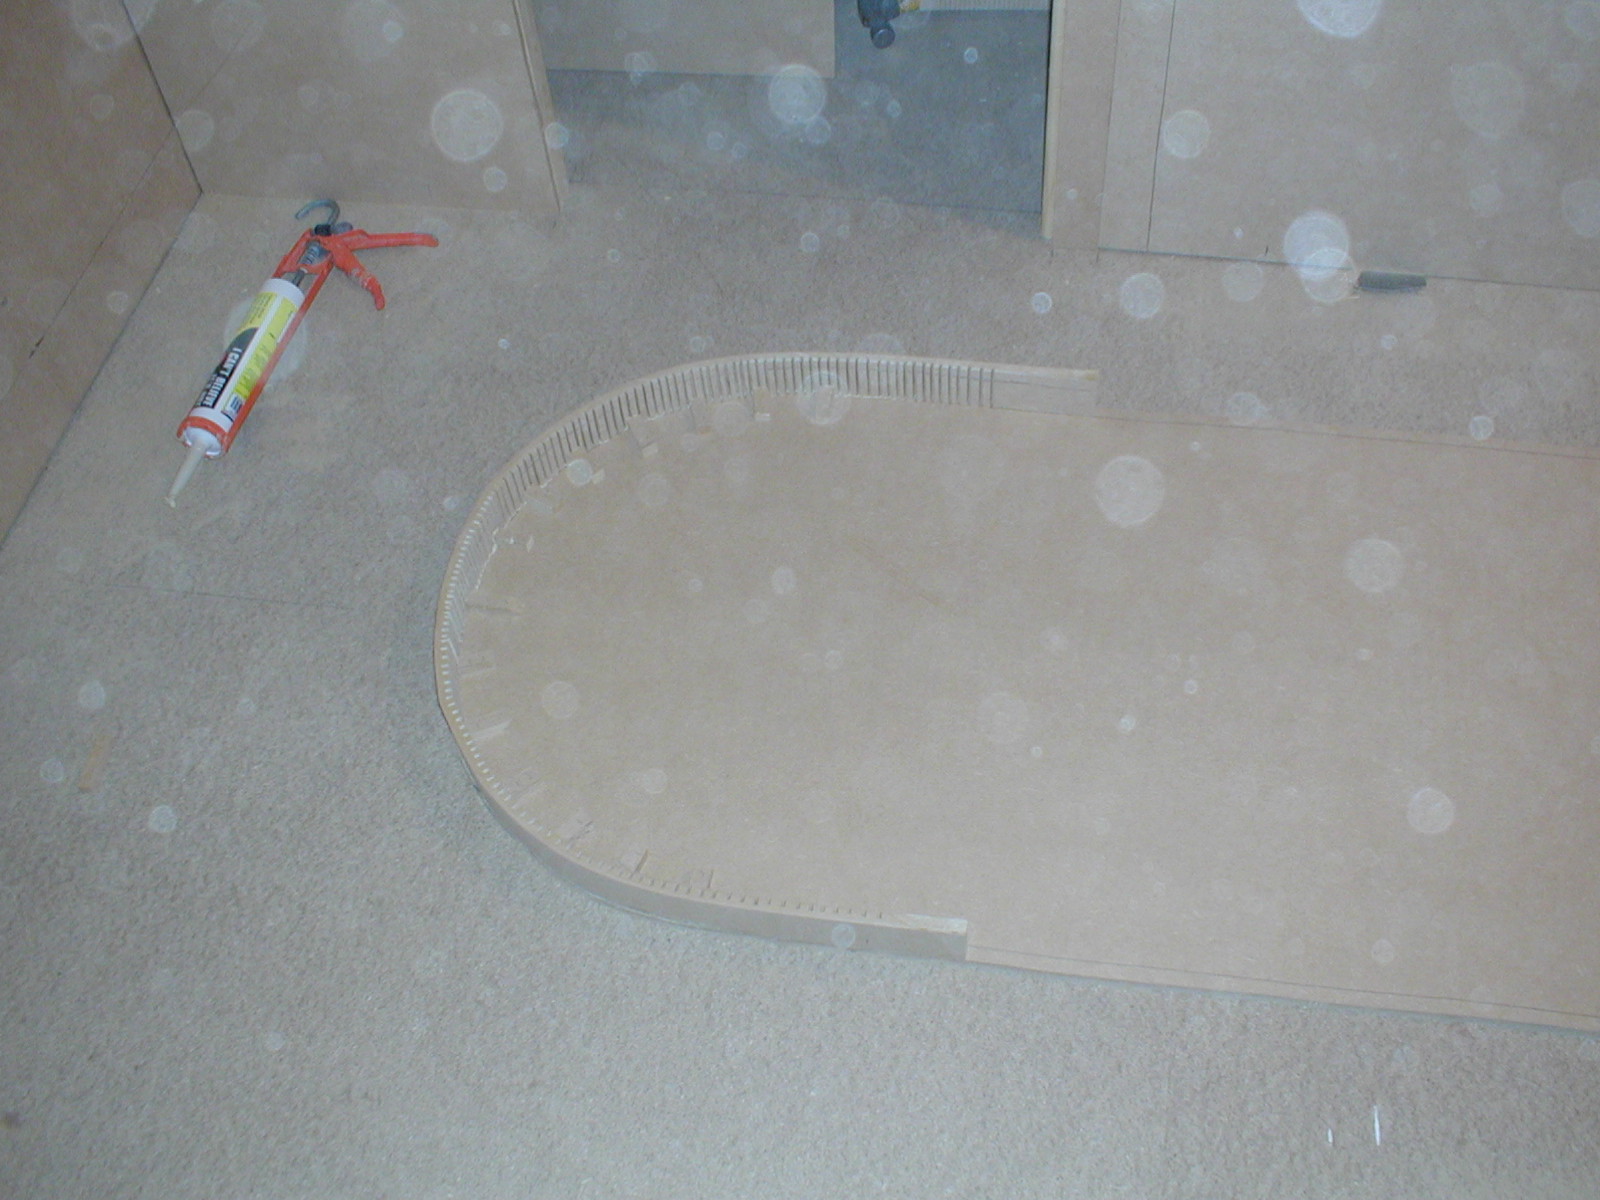
One problem with the double sided bulkhead is the cavity between, which needs closing off. Easy enough when the door is square but with the arch it needs a curved filler piece.

So I made one, made a couple, one for beedroom and one for bathroom. I laminated two strips of scored MDF, slapped loads of PVA glue on, and bent them round a former made from the offcuts to match the tops of the doors. I hung it up above the stove to dry the glue faster while I got on with making the bathroom door.

A simple frame laminated between two layers and sanded to shape, it fills a hole and looks very rustic. I think the pix say it all.

Tuesday, 18 January 2011

Cookin and good lookin


Look whats been cooking in my kitchen (galley). Ive been busy these past 3 weeks sorting out the bathroom and galley but the bathroom is still a work in progress due to the gas pipe which has to run under the basin and I cannot find the right tiles I want for the floor just in front of the shower tray, so im concentrating on the galley.

The galley is such a misch match shape I hadnt a hope of finding ready made units to fit and they arnt that much value for money either so I made my own. Done it all before years ago so its been fun doing it again, the same, but better.

I bought the washing machine and fridge first just to make sure what I planned would fit and work. Good job I did as the wash maching was intended to open into the bathroom but the layout of the waste pipe and cable didnt suit the position and I wanted to make sure it would pull out in case it breaks or needs replacing and that meant leaving even more room which would be a waste of space, so I turned it 180 degrees and it now opens to the galley but will be hidden behind a door.

So, I put in some partitions and set the counter top level above them. Cut a hole for the sink, coupled up the pipes and waste etc.
Opposite is the gas hob in its own alcove (which I call my inglenook) with an extractor fan sucking out via a mushroom vent. Beneath is the wash machine and to the side will be a draws.

The fridge fits in neatly with lots of space above and behind it which will make it more efficient. I still use the old chair in lieu of steps as it gives my thighs and bum a good workout, better than step aerobics but I have to make some proper steps soon. Ive been puzzling where to make space for the garbage can, erm, dustbin.
Ive explored every possible space and where ever I think of putting it will spoil a decent cupboard space and I dont want that. Then I had the brain wave of putting it inside the steps.

I was intending to make 3 draws under the steps but I think its a perfect place for the bin, so watch this space.

Still more to do but now the planning is done, the rest is easy.

Saturday, 1 January 2011

Happy New Year


How to make Hobbity style doors.


The arched doors look great but they arnt as easy to make as square ones. They are three inches thick and are hollow , so making the arched frame at the top is the key part.


To make it a little more interesting, one leaf of the door is an inch larger than the other. This will eliminate a door frame which would emphasise it too much and detract from the simple shape.


The gap between the two door faces is 48mm, So I cut some strips of MDF 48mm wide and cut one to 4' in length. Using the mitre saw, I cut a few hundred slots in it crossways, about half to two thirds the depth. This will allow it to bend gradually.


Next, I marked round the door, half an inch in from the edge and nailed on some blocks. I can use the blocks to help form the arch as I bend the slotted MDF round the door profile.


Add the rest of the strips down the door sides and across near the bottom. Ive kept it up about 1 inch as I will have to take a slice off to allow for the carpet depth at a later date.


Then glue and nail on the other side and go home for a well earned cup of rosey lea. The glue will be dry in the morning and I can sand it all to size.


Ive also been making the wardrobe with two sides to it, both have a door and shelves. In the back of it is the vent which will carry the ducted air to the back of the stove.


No Hobbits were actually involved in the making of Hobbity doors.


Other doors are not available